How To Finish The Toe Kick Kitchen Cabinets - Tips for Installing IKEA Toe-Kicks / Think of the discomfort you'd feel if you didn't have that handy little cave for.
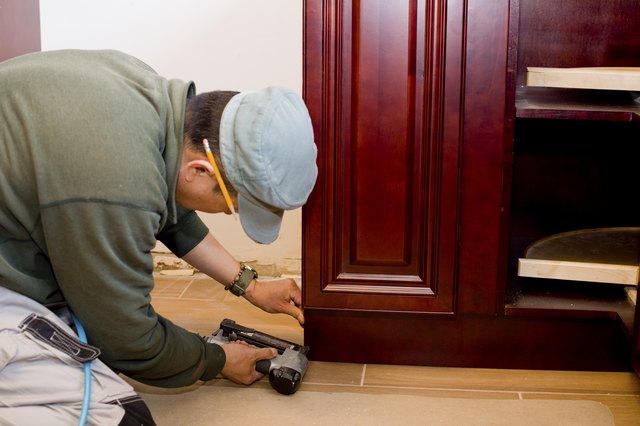
How To Finish The Toe Kick Kitchen Cabinets - Tips for Installing IKEA Toe-Kicks / Think of the discomfort you'd feel if you didn't have that handy little cave for.. Strike the nail setter with the hammer to countersink each finishing. The furring strip butted up to the back of the toe kick and was as long as the toe kick's depth. Toe kick also provides a less maintenance and aesthetically pleasing approach to finishing the kitchen because it will block any leaves or other. Let dry for 24 hours. Think of the discomfort you'd feel if you didn't have that handy little cave for.
Applying tape to a new section next to wet caulk would be pretty messy. Cabinet toe kick installation to a floor that is at least an inch off. Toe kick also provides a less maintenance and aesthetically pleasing approach to finishing the kitchen because it will block any leaves or other. Position a nail setter on the head of each finishing nail. Cabinet toe kick installation to a floor that is at least an inch off.
Like the feet under the cabinet | Kitchen cabinets with legs, Kitchen cabinet trends, Kitchen ... from i.pinimg.com Adding a toe kick cabinet base will give your kitchen a professional and polished look. Position a nail setter on the head of each finishing nail. Some toe kicks have a. Let dry for 24 hours. The toe kick is made with a laminate that has a medium oak finish. Applying tape to a new section next to wet caulk would be pretty messy. When replacing the flooring or remodeling your base cabinets, it is often necessary to remove the toe kick. You want the tape on the floor to be directly beneath the cabinet toe kick, but not under it.
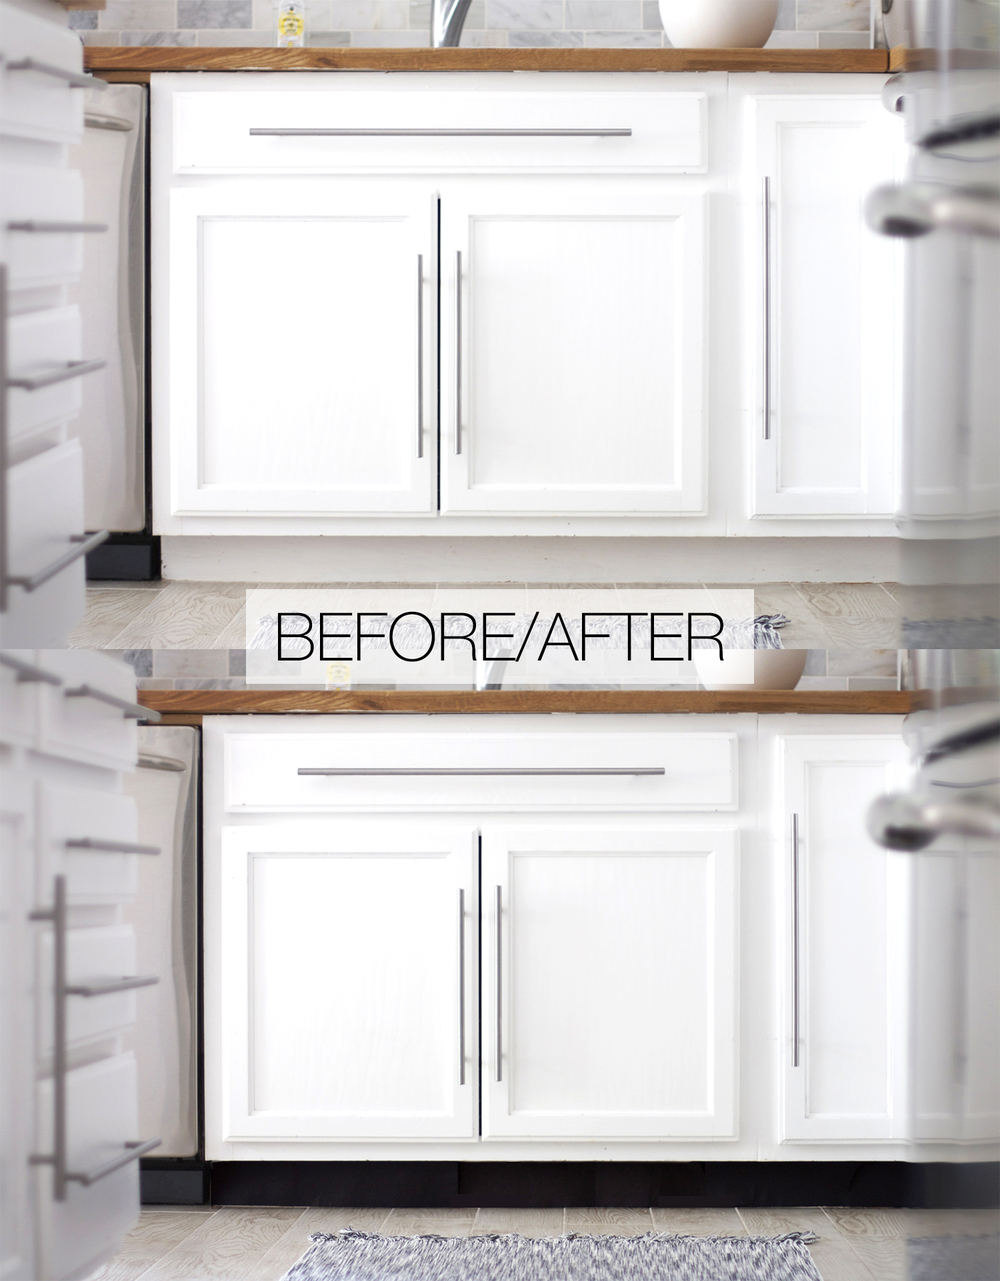
Paint your cabinet toe kick with bright and shining color to cheer your kitchen.
The toe kick is made with a laminate that has a medium oak finish. Make sure you tape all connecting cabinets in one go. Strike the nail setter with the hammer to countersink each finishing. Measure and mark the pvc to fit the toe kick underneath on both ends of the cabinets. The toe kick is the little cove beneath your cabinets that, like its name suggests, houses your toes. Toe kick also provides a less maintenance and aesthetically pleasing approach to finishing the kitchen because it will block any leaves or other. It looks like the kick piece will have to be recessed on the profile depth in order to add a trim piece and maintain the alignment of the corner of the cabinet. Since the face frames overextend the sides of the cabinets by 1/4 (this is done so the cabinets will line up square at the face frame, regardless of how square the carcass or walls are) we can just take 1/4 birch plywood and prime and paint it to match the face frames, and glue and tack it on over the ends to finish out the ends. A discussion about returning toe kick at the end of a cabinet run with some side discussion regarding squaring of the toe notch itself. Position a nail setter on the head of each finishing nail. You want the tape on the floor to be directly beneath the cabinet toe kick, but not under it. Finally, we could finish up with the toe kicks! So, here are some steps you may try to finish your unfinished kitchen cabinets.
You want the tape on the floor to be directly beneath the cabinet toe kick, but not under it. Some people find difficulty in dealing with unfinished kitchen cabinets. Deduct 1/8 inch for the necessary clearance for moisture. Cut the toe kick laying flat on the miter saw with the finished side up. So, here are some steps you may try to finish your unfinished kitchen cabinets.
Don't Forget The Toe Kick! — Kristi Murphy | DIY Blog from static1.squarespace.com In this episode the kitchen cabinet guy discusses options to embellish the toe kick area of kitchen cabinetry. Fill each countersunk hole with wood putty that matches the color of your cabinet finish. Cabinet toe kick installation to a floor that is at least an inch off. Apply a second coat of finish and allow it to dry. Most cabinet manufacturers will make matching toe kicks, but if they don't, you can create your own pretty simply. Think of the discomfort you'd feel if you didn't have that handy little cave for. Finally, fasten your toe kick with velcro, stickies, or nails to the current toe kick. Position a nail setter on the head of each finishing nail.
Let dry for 24 hours.
And keep just a hair of cabinet toe kick showing for the top tape line. A discussion about returning toe kick at the end of a cabinet run with some side discussion regarding squaring of the toe notch itself. Make sure you tape all connecting cabinets in one go. The furring strip butted up to the back of the toe kick and was as long as the toe kick's depth. It also serves to protect the cabinet bases from damage from dropped objects, spilled food and liquids and, well, kicks from people's toes. Paint your cabinet toe kick with bright and shining color to cheer your kitchen. For great tips on installing door hardware, see how to install cabinet hardware. Applying tape to a new section next to wet caulk would be pretty messy. Removing the toe kick from base cabinets is a relatively simple matter of prying the boards away from the cabinet. Think of the discomfort you'd feel if you didn't have that handy little cave for. You want the tape on the floor to be directly beneath the cabinet toe kick, but not under it. Finally, fasten your toe kick with velcro, stickies, or nails to the current toe kick. Installers are very familiar with toekicks.
He goes through the process of cutting and installing the pvc for all of the cabinets. Yellow or blue can be the right color if you want to apply colorful toe kick. Adding a toe kick cabinet base will give your kitchen a professional and polished look. Toe kick molding provides the same finished look to the back of the toe kick area as the rest of the cabinets. You want the tape on the floor to be directly beneath the cabinet toe kick, but not under it.
How to Install Toe Kick Boards for Kitchen Cabinets | Hunker from img.hunkercdn.com You will need to get accurate measurements. Toe kick also provides a less maintenance and aesthetically pleasing approach to finishing the kitchen because it will block any leaves or other. A compound miter saw takes care of that in a minute or two. Some people find difficulty in dealing with unfinished kitchen cabinets. He goes through the process of cutting and installing the pvc for all of the cabinets. Most cabinet manufacturers will make matching toe kicks, but if they don't, you can create your own pretty simply. Deduct 1/8 inch for the necessary clearance for moisture. To finish the toe kick, tom silva opts for pvc boards as they are waterproof, easy to clean, and easier to cut than tile to match uneven floors.
Cabinet toe kick installation to a floor that is at least an inch off.
Paint your cabinet toe kick with bright and shining color to cheer your kitchen. Strike the nail setter with the hammer to countersink each finishing nail. Fill each countersunk hole with wood putty that matches the color of your cabinet finish. It looks like the kick piece will have to be recessed on the profile depth in order to add a trim piece and maintain the alignment of the corner of the cabinet. Strike the nail setter with the hammer to countersink each finishing. Steps for installing a toe kick: You will need to get accurate measurements. When the stain is dry, spray the board with a single coat of clear finish. And keep just a hair of cabinet toe kick showing for the top tape line. Installers are very familiar with toekicks. Deduct 1/8 inch for the necessary clearance for moisture. Since the face frames overextend the sides of the cabinets by 1/4 (this is done so the cabinets will line up square at the face frame, regardless of how square the carcass or walls are) we can just take 1/4 birch plywood and prime and paint it to match the face frames, and glue and tack it on over the ends to finish out the ends. Nail the toe kick board to the base cabinets with finishing nails.